How to Install Drip Edge Correctly (5 Common Mistakes)
Knowing how to install drip edge the right way is essential for protecting your roof from water intrusion, fascia damage, and premature shingle deterioration. Homeowners in Las Cruces, NM often experience strong winds and occasional heavy rain, making proper drip edge installation even more important for long-term roof performance. In this guide, you’ll learn what drip edge does, how it should be installed, and the most common mistakes to avoid during the installation process.
Here’s what this article will cover:
- What drip edge is and why it matters
- Proper installation steps
- The most frequent mistakes made during installation
- How drip edge protects against moisture issues
- When to call a professional roofer
Installing this component correctly can significantly extend the lifespan of your roofing system.
What Is Drip Edge?
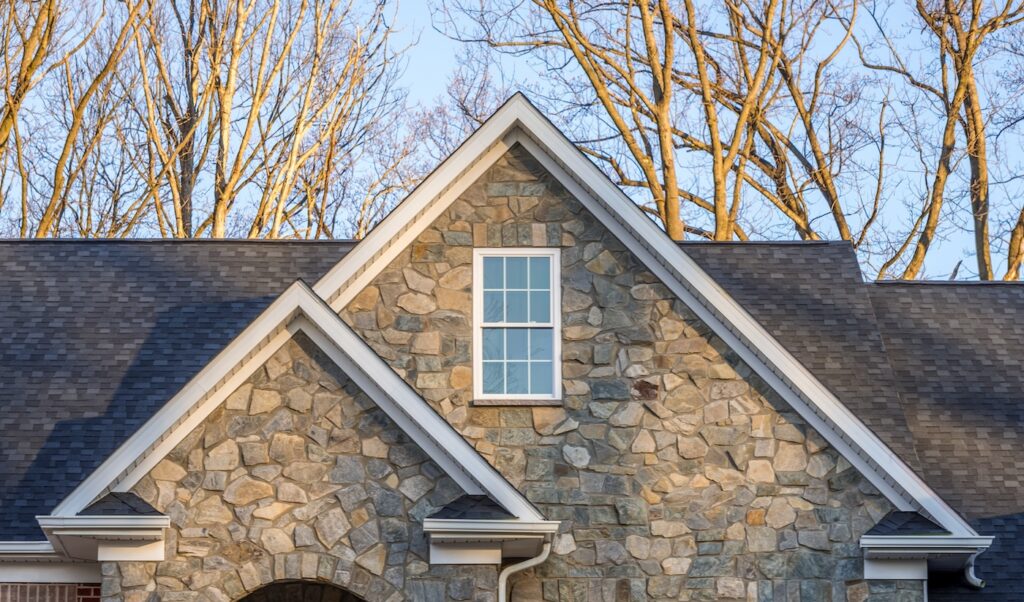
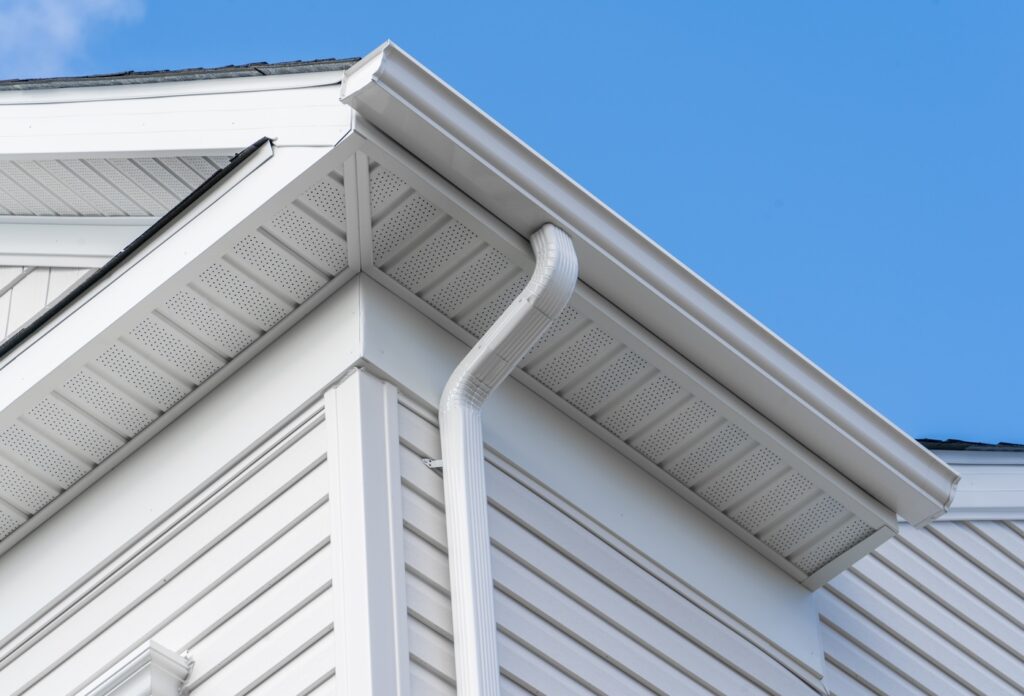
Drip edge is a metal flashing installed along the edges of the roof. Its primary function is to guide water away from the fascia and into the gutter, preventing moisture from seeping beneath shingles or onto the roof deck. Without a drip edge, water can travel along the roof edge and create pathways for rot, staining, or structural weakening.
Why Drip Edge Matters
Drip edge contributes directly to the roof’s long-term durability, especially in climates like Las Cruces where heavy wind or rain can drive moisture beneath shingles.
- Moisture diversion: Moves water safely into the gutter system instead of letting it run behind fascia boards.
- Shingle protection: Helps prevent wind uplift and early shingle failure.
- Deck preservation: Protects the roof deck from rot and warping caused by repeated moisture exposure.
Key Steps for Installing Drip Edge Correctly
Proper installation ensures your drip edge performs as intended. These are the core steps involved in correct placement and long-term performance.
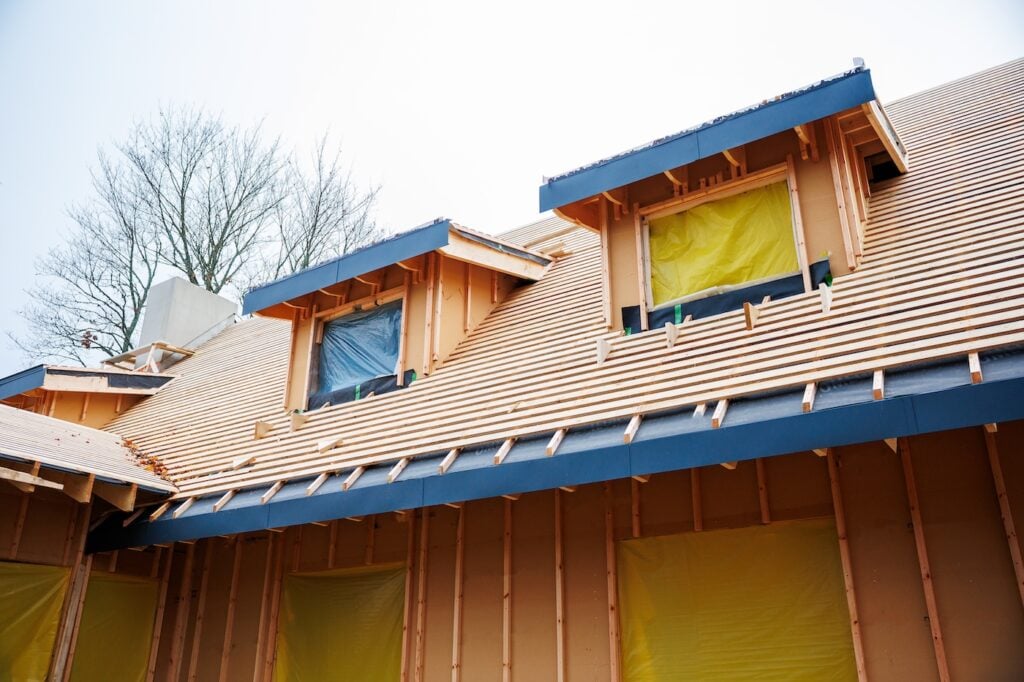
Step 1: Prepare the Roof Edge
Clean and dry the entire roof edge, removing debris or deteriorated materials. Replace any rotten or soft wood to ensure the drip edge sits on a solid, stable surface.
Step 2: Install Drip Edge Along the Eaves
Place drip edge under the underlayment on the eaves. This allows water to drain cleanly into the gutter and prevents it from flowing onto the fascia.
Step 3: Install Drip Edge Along the Rakes
On the rakes, drip edge is installed over the underlayment. This seals the roof edge more effectively and keeps wind-driven rain from getting underneath the membrane.
Step 4: Overlap Each Section
Overlap each piece by at least two inches so water flows smoothly and cannot penetrate between seams.
Step 5: Use Proper Fastening
Use corrosion-resistant roofing nails spaced evenly along the upper edge of the flashing. This helps secure the material without creating paths for water.
Step 6: Seal Transitions and Corners
Apply roofing sealant to corners, joints, and inside angles where two pieces meet. These areas are more vulnerable to water intrusion, and sealing them ensures continuous protection and smoother water flow.
5 Common Mistakes to Avoid When Installing Drip Edge
Many issues occur because installers overlook simple but essential steps. Avoiding these mistakes helps extend the life of both the drip edge and the roofing system.
- Incorrect placement on eaves: Installing drip edge over the underlayment on eaves disrupts proper water flow.
- Failing to overlap sections: Gaps between pieces allow water to seep behind the flashing.
- Improper fastening: Nails placed too low or too far apart can lead to loosening or buckling.
- Skipping rake installation: Leaving the rakes unprotected creates significant risk in windy or rainy conditions.
- Using damaged flashing: Bent or warped drip edge cannot guide water properly and may create points of leakage.
Comparing Drip Edge Types
Not all drip edge materials perform the same. The right option depends on climate, budget, and roof design.
| Drip Edge Type | Durability | Cost | Best Use |
| Aluminum | Moderate | Affordable | Standard residential roofs |
| Galvanized Steel | High | Moderate | Homes in windy or storm-prone areas |
| Copper | Very High | High | Premium or historic homes |
How Drip Edge Prevents Water Damage
One of the biggest threats to a roofing system is hidden moisture. Drip edge protects the roof’s perimeter by directing water away from vulnerable areas like the fascia, soffit, and roof deck. When installed correctly, it stops water from creeping under shingles or saturating edge materials, which can lead to rot and structural deterioration over time.
Signs Drip Edge May Have Been Installed Incorrectly
If your roof was recently installed or repaired, certain symptoms may indicate that the drip edge is not functioning correctly. These issues should be addressed promptly to prevent costly damage.
Water Staining Along Fascia
Water stains on fascia boards often indicate improper water flow. If drip edge is misaligned or missing, water may run behind the gutter rather than into it. Over time, this moisture exposure can cause wood rot, peeling paint, and mold growth. Homeowners should monitor fascia during and after storms to catch this problem early.
Lifted or Curled Shingles at Edges
Shingles near the edges of the roof should lie flat and remain secure. If they begin curling, lifting, or losing adhesion, it may signal that water is getting under the shingle layer because the drip edge is not installed correctly. This condition can also make shingles more vulnerable to wind damage, leading to further roof deterioration.
Rotting Wood Along the Roofline
Rotting or soft wood near the roof’s perimeter is one of the clearest signs of moisture infiltration. Without a properly placed drip edge, water can enter repeatedly at the same points, causing long-term structural damage. This type of deterioration may not be immediately visible, making regular inspections especially important.
Maintenance Tips for Drip Edge Longevity
Proper upkeep ensures your drip edge continues to protect your roof for years.
- Seasonal inspections: Look for gaps, rust, dents, or misalignment along the flashing edges.
- Gutter cleaning: Keeping gutters clear supports the drip edge’s ability to move water away from the home.
- Prompt repairs: Addressing loose, bent, or deteriorating drip edge immediately prevents costly moisture damage.
We’re proud to serve home and business owners in Las Cruces, NM, and nearby communities with drip edge installation, replacement, and repair services.
Why Homeowners Trust Cabezon Roofing for Drip Edge Installation
At Cabezon Roofing, we understand how essential proper flashing is to a roof’s long-term health. Our team follows precise installation practices, ensures correct placement along both eaves and rakes, and uses durable materials suited for New Mexico’s climate. Whether you’re installing a new roof or upgrading the protection around your roofline, we deliver honest evaluations, dependable workmanship, and long-lasting results. Contact Cabezon Roofing today to schedule your drip edge inspection or installation.


