How to Perform Emergency Roof Tarping (6 Essential Steps)
Knowing how to handle emergency roof tarping can help protect your home from further damage after storms, high winds, or unexpected leaks. In Roswell, sudden weather changes and heavy rain can quickly turn minor roof damage into a major problem if it’s not addressed immediately. This guide walks you through how emergency tarping works, when it’s needed, and the key steps to secure your roof until permanent repairs can be made.
Here’s what you’ll learn:
- When emergency roof tarping is necessary
- What materials are required
- Step-by-step instructions for proper installation
- Common mistakes to avoid
- When to call a professional
Taking quick action with an emergency roof tarp can prevent water from spreading across your roof structure and turning a damaged area into a temporary roof situation affecting the entire roof.
When Is Emergency Roof Tarping Needed?
Emergency tarping is used as a temporary solution to protect a damaged roof from further exposure to the elements. It is most often required when the roofing system is compromised and immediate repair is not possible. Acting quickly helps prevent additional water intrusion, structural damage, and interior issues like mold growth.
Storm Damage
High winds, hail, and flying debris can tear shingles, lift roofing materials, or expose the roof deck entirely. Even a small opening near the roof peak can allow water to enter during the next rainfall. In Roswell, fast-moving storms make it critical to secure damaged areas quickly.
Sudden Leaks
Leaks that appear during heavy rain often indicate that water has already penetrated the roofing system. These leaks may spread beyond the visible area, soaking insulation and ceiling materials. Emergency tarping helps contain the issue until you can schedule permanent repairs.
Structural Impact
Fallen branches or debris can puncture the roof surface and create large openings. In these cases, installing a properly installed tarp over the damaged section is essential to prevent widespread interior damage.
Materials Needed for Emergency Roof Tarping
Before beginning the tarping process, it’s important to gather all necessary materials. Using the right tools ensures the tarp remains secure and performs effectively in harsh conditions.
- Heavy-duty tarp: A waterproof tarp large enough to extend well beyond the damaged area.
- Wood boards or strips: Used to anchor the tarp securely and prevent movement.
- Roofing nails or screws: Strong fasteners that hold the tarp in place during wind and rain.
- Hammer or drill: Tools required to secure boards and fasteners properly.
- Safety gear: Includes gloves, harnesses, and non-slip footwear for safe roof access.
6 Essential Steps for Emergency Roof Tarping
Following the correct process ensures your tarp provides reliable temporary protection and reduces the risk of further damage.
- Assess the damage: Carefully inspect the roof to identify all exposed areas, including sections near the roof peak and along edges.
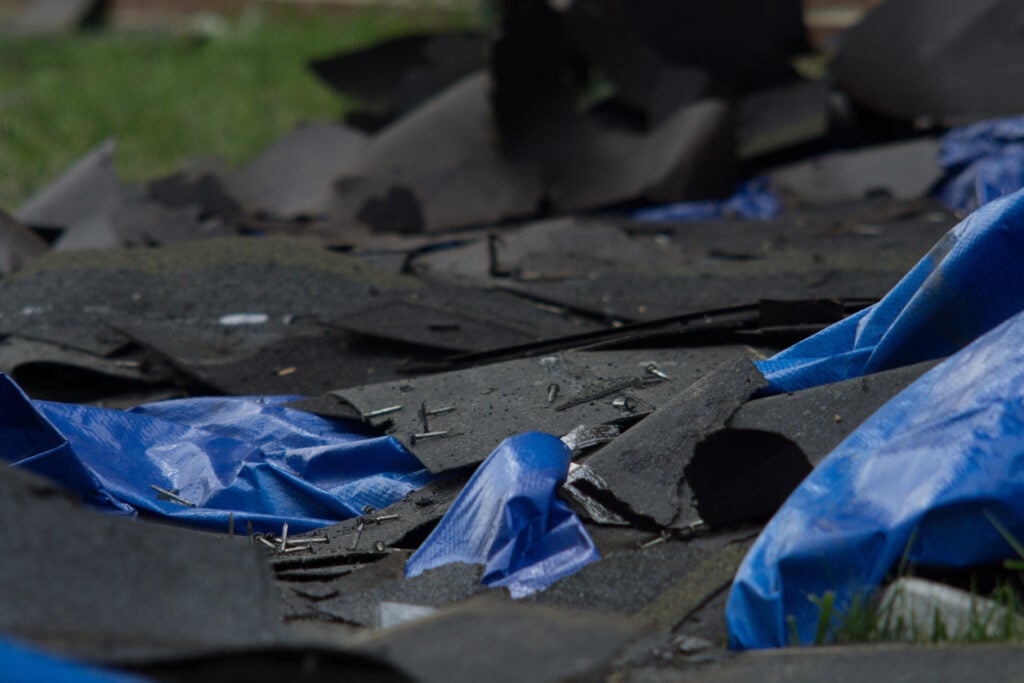
- Clear debris: Remove loose shingles, branches, and sharp materials that could tear the tarp or prevent proper placement.
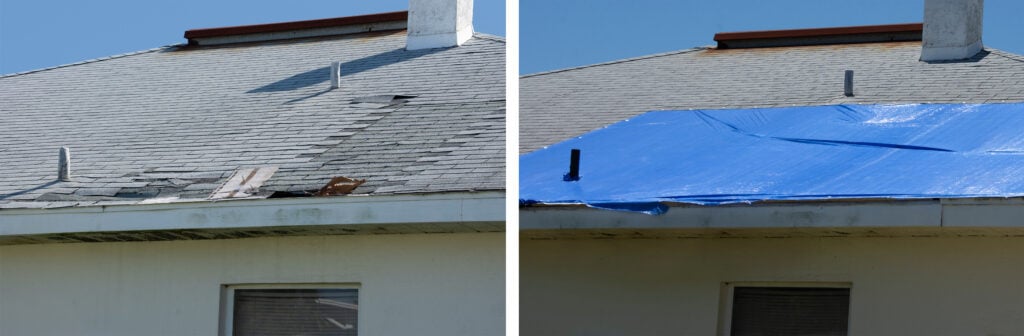
- Position the tarp: Lay the tarp over the damaged section, ensuring it extends far enough to protect the surrounding area.
- Secure the top edge: Fasten the tarp at the highest point first so water flows downward instead of entering underneath.
- Anchor the sides and bottom: Use boards and fasteners to keep the tarp tight and stable during wind and rain.
- Check for gaps: Inspect all edges to confirm there are no openings and adjust the tarp as needed for full coverage.
Common Mistakes to Avoid During Roof Tarping
Even small mistakes can reduce the effectiveness of your emergency roof tarp and allow water to continue entering the home.
- Insufficient coverage: A tarp that does not extend far enough leaves parts of the roof exposed.
- Loose fastening: Weak attachment points can cause the tarp to lift during storms.
- Incorrect positioning: Poor placement can trap water instead of directing it off the roof.
- Skipping inspection: Failing to check for gaps can result in continued leaks.
How Emergency Tarping Prevents Further Damage
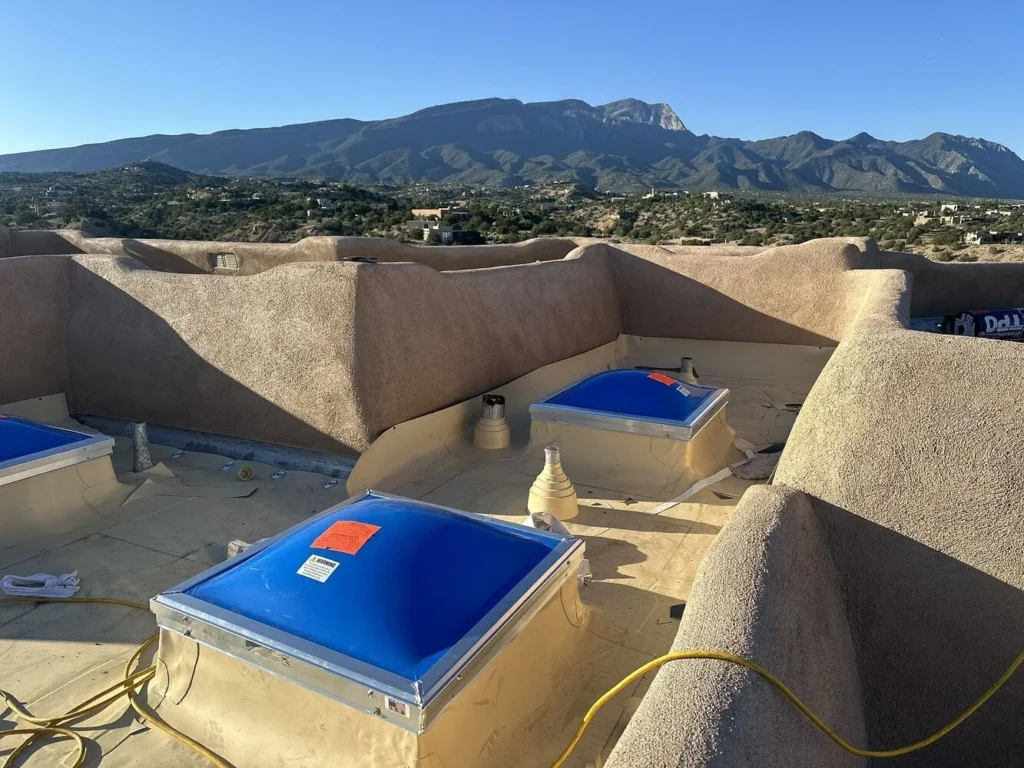
Emergency tarping acts as a protective barrier that blocks water from entering damaged sections of the roof. A properly installed tarp keeps rain from soaking insulation, ceilings, and structural components while buying time for professional repairs. This temporary roof solution is especially important when storms continue or repairs are delayed.
This matters because water damage is the second most common home insurance claim in the U.S., accounting for roughly 1 in 4 of all homeowners’ insurance claims filed. Acting quickly helps minimize structural issues and reduces the chance of long-term damage.”
Safety Considerations During Roof Tarping
Working on a damaged roof can be dangerous, especially during or after severe weather. Safety should always be a priority.
Use Proper Equipment
Wearing harnesses, gloves, and slip-resistant shoes helps reduce the risk of injury. These tools provide stability when walking on uneven or damaged roofing surfaces.
Avoid Wet or Windy Conditions
Wet shingles and strong winds increase the risk of slipping or losing control of materials. If conditions are unsafe, wait until the weather improves.
Know When to Call a Professional
If the roof is steep, severely damaged, or difficult to access, it is best to contact a roofing contractor. Professionals have the tools and experience needed to secure the tarp safely.
Temporary Solution vs Permanent Repair
Emergency tarping is not a long-term solution. It protects your home temporarily, but professional repairs are required to restore full protection.
When Tarping Is Enough
Tarping works well for short-term protection when damage is limited and repairs can be scheduled soon.
- Minor damage: Small exposed areas that do not affect the entire roof.
- Short-term need: Provides protection until you can schedule permanent repairs.
When Full Repairs Are Needed
Extensive damage requires more than a tarp and should be addressed as soon as possible.
- Large exposed areas: Significant portions of the roof are damaged.
- Ongoing leaks: Water continues to enter despite tarping.
- Aging roofs: Older systems may require replacement instead of temporary fixes.
We’re proud to serve home and business owners in Roswell, NM, and nearby communities with emergency roof tarping and repair services.
Fast, Reliable Emergency Roofing Help from Cabezon Roofing
At Cabezon Roofing, we understand how urgent roof damage can be. Our team responds quickly to install a properly secured tarp, protect your home from further damage, and help you plan the next steps. Whether you need immediate protection or help to schedule permanent repairs, we deliver reliable solutions designed for New Mexico’s climate.
Contact Cabezon Roofing today to get fast help with emergency roof tarping and protect your home when it matters most.


